1 Introduction
Often model training (especially when working with neural networks) takes some time that can be usefully spent on other work. Since I would like to be informed immediately when a model training is finished or a certain processing status has been reached, I have listed some of my methods in this post, how such notifications can be made via Python.
For this post the dataset Bank Data from the platform “UCI Machine Learning Repository” was used. You can download it from my “GitHub Repository”.
2 Import the Libraries and the Data
import pandas as pd
import matplotlib.pyplot as plt
import time

from sklearn.model_selection import train_test_split
from sklearn.svm import SVC


# for chapter 4.2
import winsound
# for chapter 4.3
import telegram
from sklearn.metrics import accuracy_score
from datetime import datetime
from sklearn.model_selection import GridSearchCV
# for chapter 4.4
import pymsteams
# for chapter 4.5
from keras import models
from keras import layers
## for chapter 4.5.2
from tf_notification_callback import TelegramCallback
## for chapter 4.5.3
import requests
import tensorflow as tf
import tensorflow.keras.utils as np_utils
## for chapter 4.6
import smtplib
from email.mime.multipart import MIMEMultipart
from email.mime.text import MIMEText
df = pd.read_csv('bank.csv', sep=';')
col_to_keep = 'age','job','marital','education','month','y'
df = df.filter(col_to_keep)
df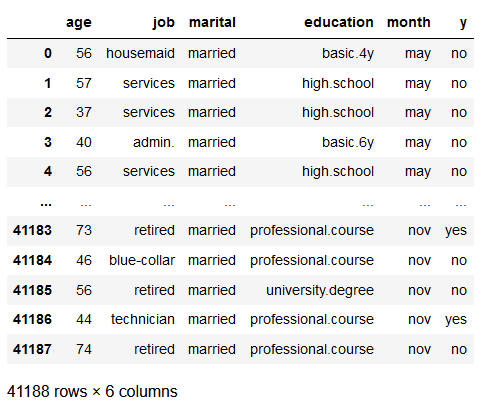
3 Data Pre-Processing
3.1 Encoding of the Predictors
Here we use the get_dummies function from the pandas library as it is simple and quick to write with just a few lines of code.
For a real model development you should of course use OHE from scikit-learn to reuse the created encoder (for new or inverse transformations).
In this post, however, not the model training itself is central but the automatic notification at the end of a model training via various channels.
df = pd.get_dummies(df, prefix=['Job'], columns=['job'])
df = pd.get_dummies(df, prefix=['Marital'], columns=['marital'])
df = pd.get_dummies(df, prefix=['Education'], columns=['education'])
df = pd.get_dummies(df, prefix=['Month'], columns=['month'])

print('Shape of DataFrame: ' + str(df.shape))
print()
print('Columns : ')
print(df.columns)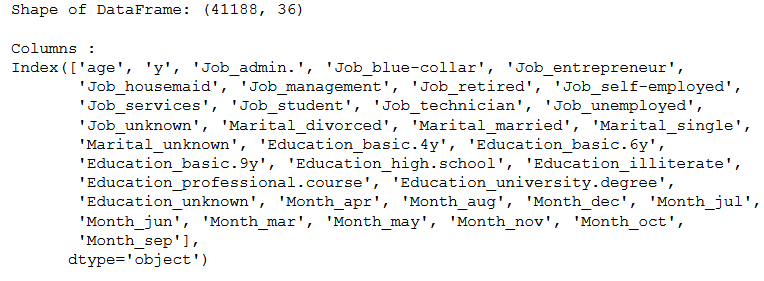
3.2 Encoding of the Target Variable
vals_to_replace = {'no':'0', 'yes':'1'}
df['target'] = df['y'].map(vals_to_replace)
df['target'] = df.target.astype('int64')

df = df.drop('y', axis=1)

print('Shape of DataFrame: ' + str(df.shape))
print()
print('Columns : ')
print(df.columns)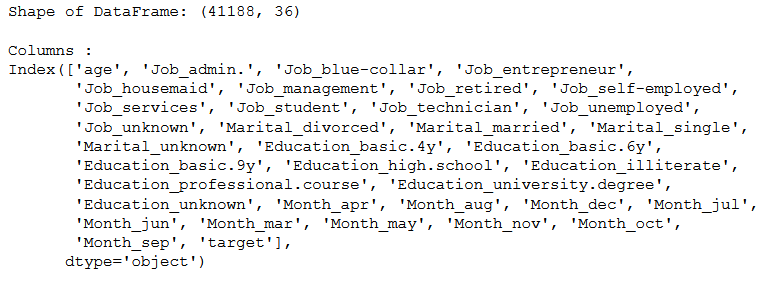
3.3 Train-Test Split
x = df.drop('target', axis=1)
y = df['target']

trainX, testX, trainY, testY = train_test_split(x, y, test_size = 0.2)
4 Get Automated Notifications
Here I start a simple model training (classification using Support Vector Machines) which gives me feedback on the processing time in the notebook using the print function.
start = time.time()

clf = SVC(kernel='linear')
clf.fit(trainX, trainY)

end = time.time()

print()
print('Processing Time: ' + str(round(end - start,2)) + ' seconds')
Of course, I only see this information when I am actively looking at the notebook. But now I want to use methods where I get notifications no matter what activity I am doing on the PC or elsewhere.
4.1 via Notify
Notify is an extension for Jupyter Notebook that notifies the user via a browser notification as soon as a code cell has finished its execution. Notify is supported by both Chrome and Firefox. I found this package in this repo.
Installation and Enabling:
How to add new libraries to an existing environment is described here.
pip install jupyternotify
Now we have to enable this Jupyter Notebook Extension:
%load_ext jupyternotify
Your browser will ask you at this point if you want to allow these notifications. Of course, we answer this with yes.
%%notify

clf = SVC(kernel='linear')
clf.fit(trainX, trainY)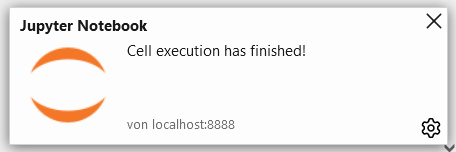
Personally, when you put multiple notifications in your code lines, I always find it quite useful to add a notification text.
%%notify -m "Model Training finished"

clf = SVC(kernel='linear')
clf.fit(trainX, trainY)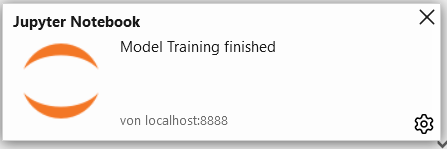
4.2 via an Audible Signal
Here is another method, where I don’t receive text messages, but acoustic signals.
def make_noise_func():
    '''
    A function to send an acoustic signal

    Args:
        none

    Returns:
        An acoustic signal
    '''
    # Specification in Milliseconds
    duration = 1000
    # Specification in Hertz
    freq = 440
    winsound.Beep(freq, duration)
clf = SVC(kernel='linear')
clf.fit(trainX, trainY)
make_noise_func()4.3 via Telegram
4.3.1 Set up a Chat Bot
Telegram is a popular and widely used text messenger that can also be used to set up a bot and receive messages from Python. Prerequisite is of course that you have Telegram. Otherwise, download the app and follow these steps to set up our bot.
Here is the command with which you can load the library in Python. If you don’t know how to do that, read this post of mine: Getting Started with Anaconda
conda install -c conda-forge python-telegram-bot
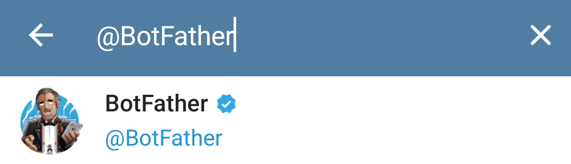
Now open the app and start a new conversation. Here you type @BotFather.
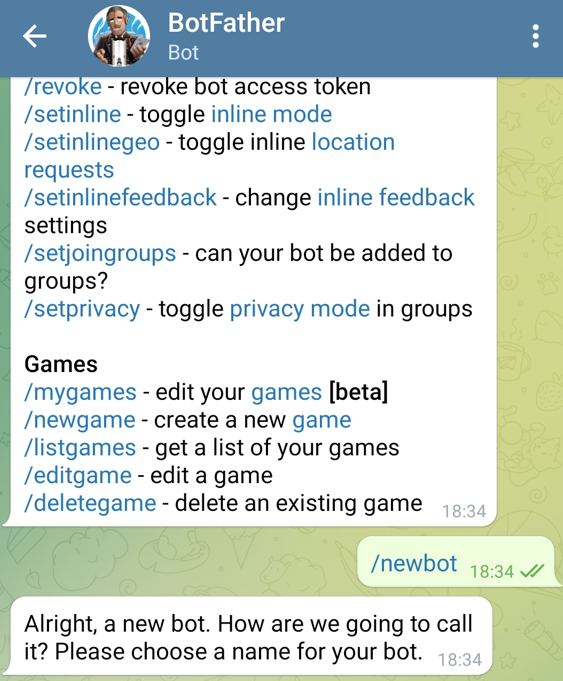
Once you have started the conversation with BotFather, type /newbot.
Now you will be asked by the bot to enter a name and then the username which must end in bot. Finally, we get the HTTP tokens (outlined in red in the image below), which we will need later.
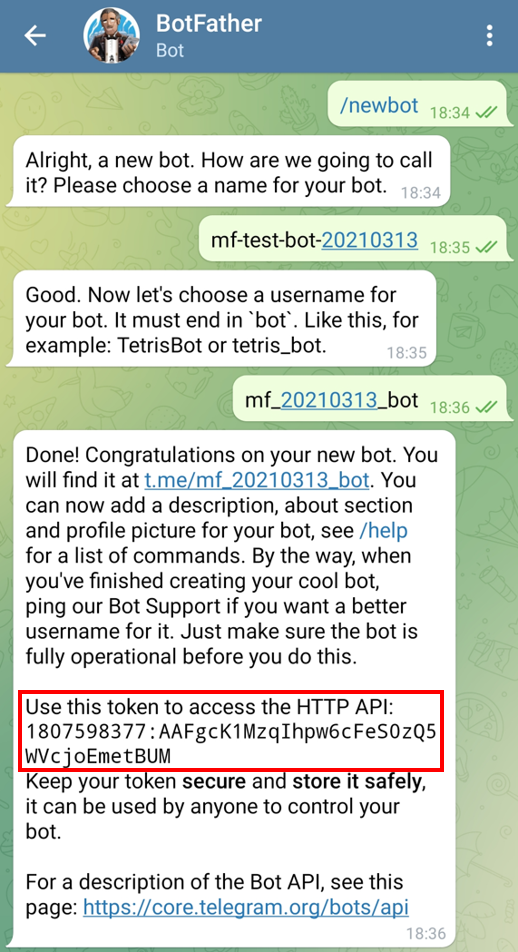
So far we have the following information:
- Botname: mf-test-bot-20210313
- Username: mf_20210313_bot
- HTTP-Token: 1807598377:AAFgcK1MzqIhpw6cFeS0zQ5WVcjoEmetBUM
Now we only need the chat ID. To find it out, we need to start a chat with the generated bot. Start a new conversation and search for the username (in our case @mf_20210313_bot).
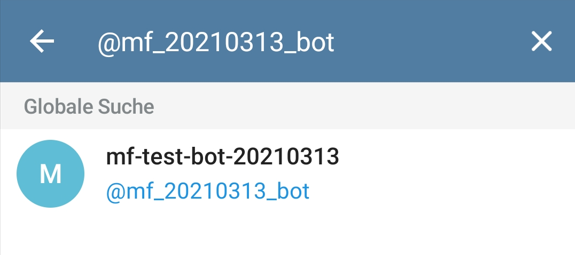
It’s really important that you put a two text message in this chat. The content does not matter, but there must be messages in the chat, otherwise the next step will not work.

Now enter the following address into your browser:
https://api.telegram.org/bot[HTTP-TOKEN]/getUpdates
Replace [HTTP-TOKEN] with your generated token like here:
https://api.telegram.org/bot1807598377:AAFgcK1MzqIhpw6cFeS0zQ5WVcjoEmetBUM/getUpdates
Now you get a similar view from which you can write out the chat ID (I marked it blue in the picture).
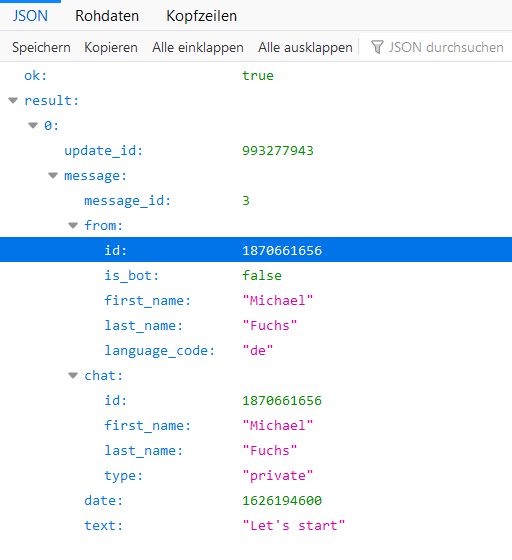
Now we have all the information we need.
- Botname: mf-test-bot-20210313
- Username: mf_20210313_bot
- HTTP-Token: 1807598377:AAFgcK1MzqIhpw6cFeS0zQ5WVcjoEmetBUM
- Chat-ID: 1870661656
Make sure that no one else knows the chat ID and token otherwise they can easily hack into your chat. I will also delete the bot again at the end of this post.
Now let’s try sending text messages. I have written the following function (chat id and token must be customized of course).
def telegram_message_func(text):
    '''
    A function for writing Telegram messages

    Args:
        text (str): Text message which should be sent, string

    Returns:
        A Telegram message with the corresponding text as content
    '''
    bot_token = '1807598377:AAFgcK1MzqIhpw6cFeS0zQ5WVcjoEmetBUM'
    chat_id = 1870661656

    bot = telegram.Bot(token=bot_token)
    bot.send_message(chat_id=chat_id, text = text)
telegram_message_func('Hi There !')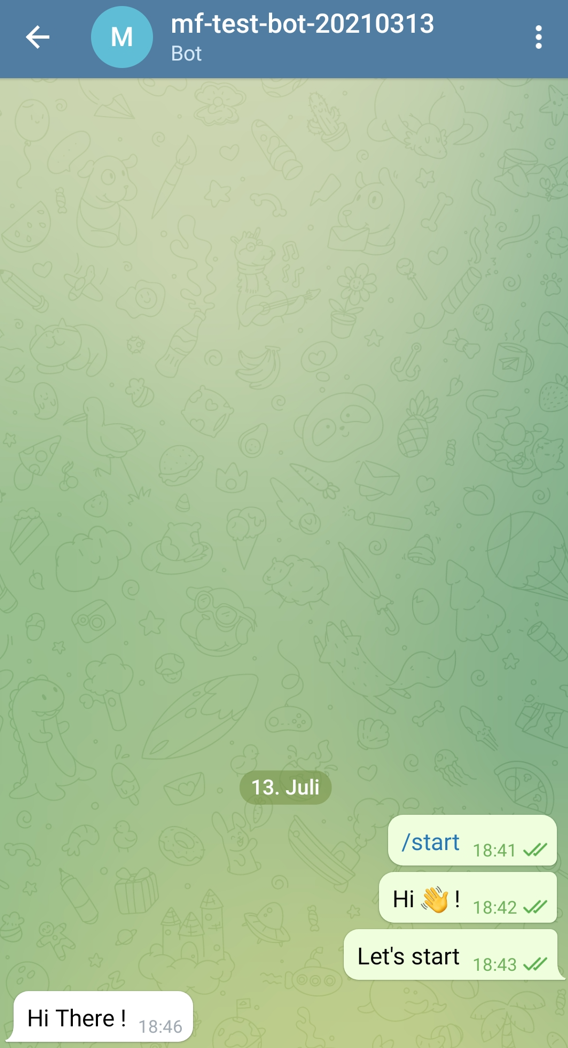
Works, great ! Now a little gimmick how to add a suitable photo to your bot for example. Go to the chat with the BotFather and enter /setuserpic.
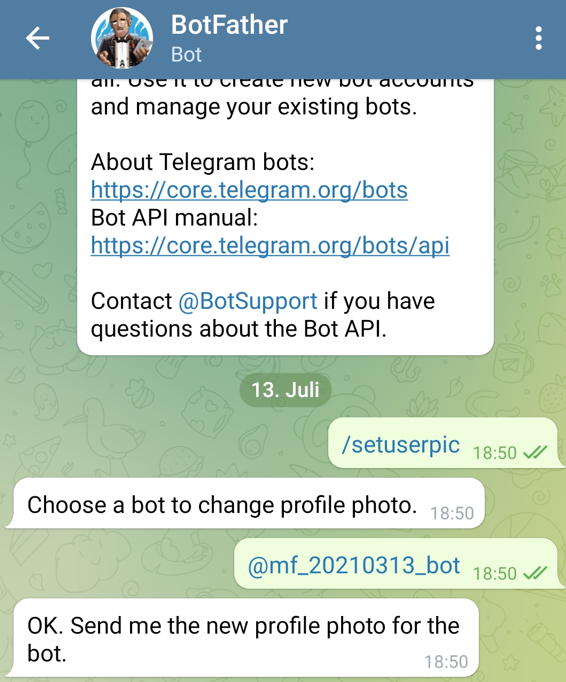
Now you can choose a photo of your choice.

This will now appear as the profile picture for your bot.
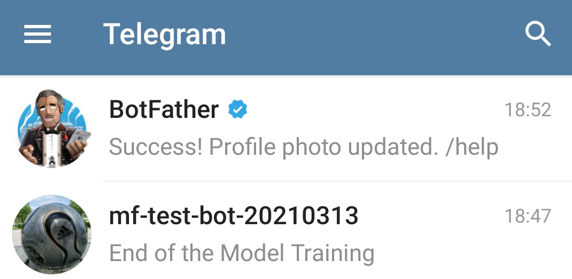
Below I will show some options of what content you can send everything to Telegram now.
4.3.2 Simple Notification
telegram_message_func('Start of the Model Training')

clf = SVC(kernel='linear')
clf.fit(trainX, trainY)

y_pred = clf.predict(testX)

telegram_message_func('End of the Model Training')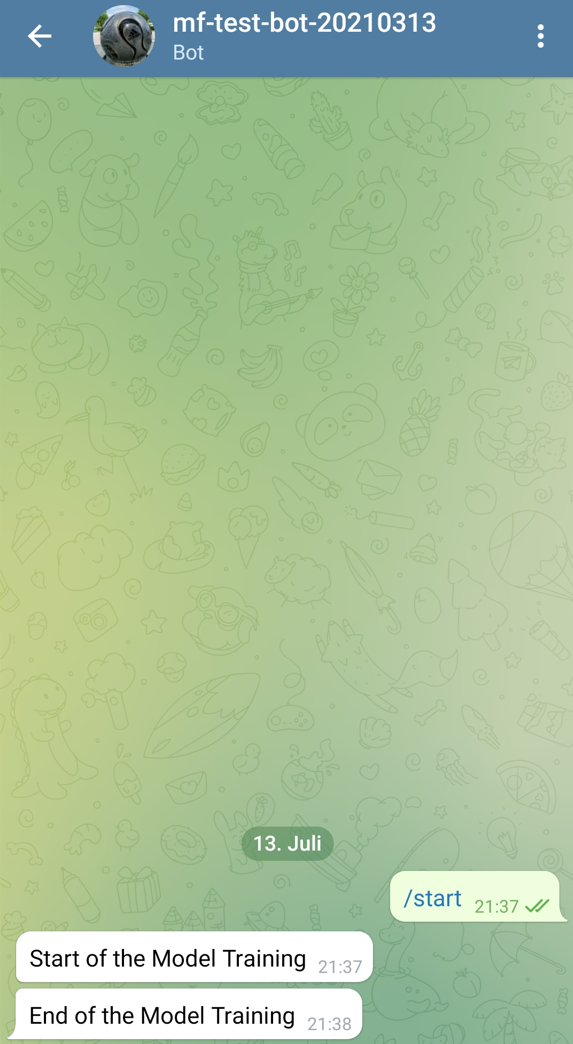
4.3.3 Notification with DateTime
current_time_start = datetime.now().strftime("%Y-%m-%d %H:%M:%S")
telegram_message_func('Start of the Model Training. DateTime: ' + str(current_time_start))

# Model Training:
clf = SVC(kernel='linear')
clf.fit(trainX, trainY)

current_time_end = datetime.now().strftime("%Y-%m-%d %H:%M:%S")
telegram_message_func('End of the Model Training. DateTime: ' + str(current_time_end))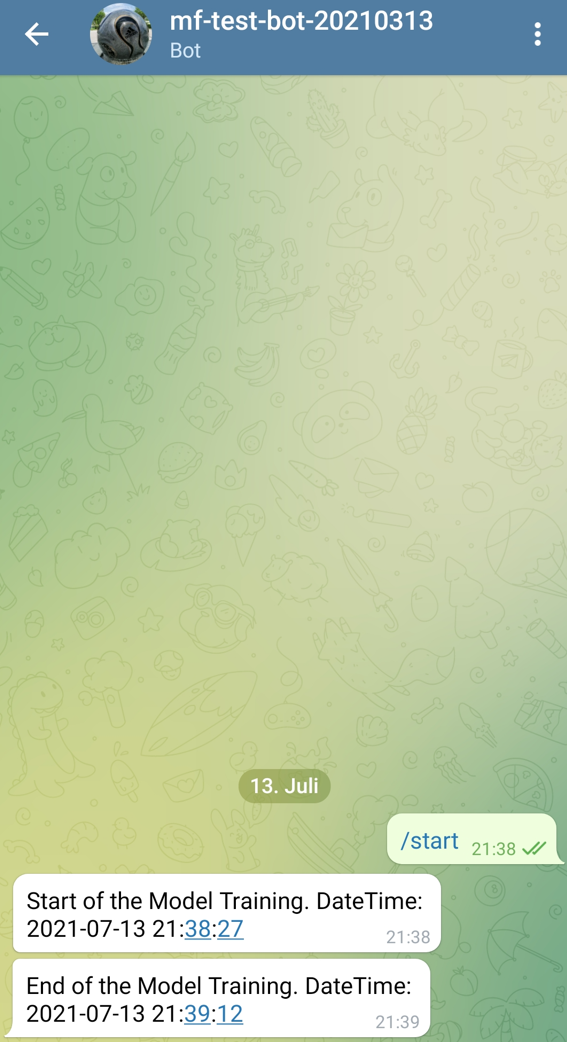
Here the output is displayed even nicer with line break:
current_time_start = datetime.now().strftime("%Y-%m-%d %H:%M:%S")
telegram_message_func('Start of the Model Training. \nDateTime: ' + str(current_time_start))

# Model Training:
clf = SVC(kernel='linear')
clf.fit(trainX, trainY)

current_time_end = datetime.now().strftime("%Y-%m-%d %H:%M:%S")
telegram_message_func('End of the Model Training. \nDateTime: ' + str(current_time_end))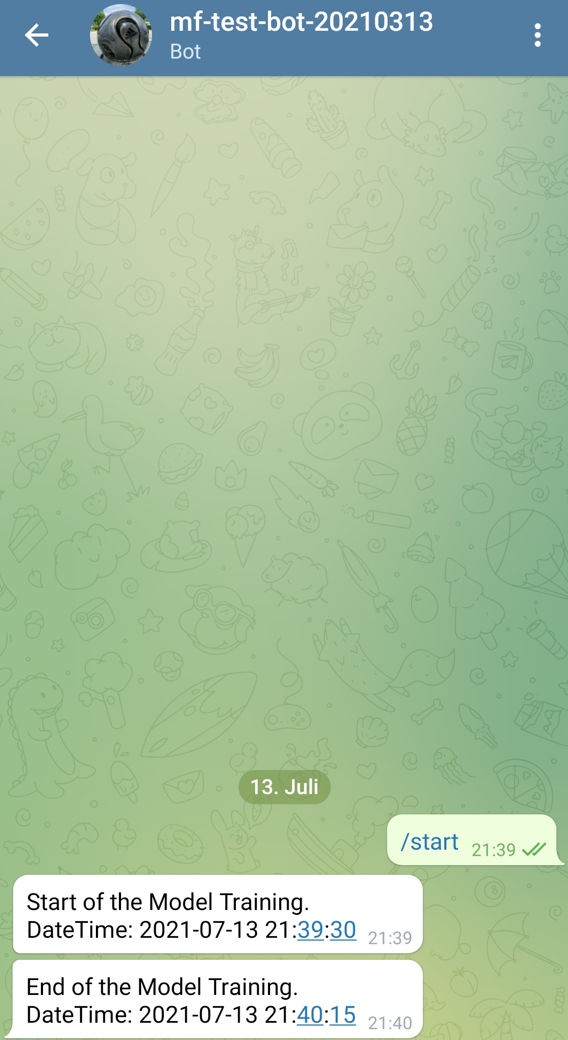
4.3.4 Notification with DateTime and Processing Time
current_time_start = datetime.now().strftime("%Y-%m-%d %H:%M:%S")
telegram_message_func('Start of the Model Training. \nDateTime: ' + str(current_time_start))

# Model Training:
start = time.time()
clf = SVC(kernel='linear')
clf.fit(trainX, trainY)
end = time.time()

current_time_end = datetime.now().strftime("%Y-%m-%d %H:%M:%S")
telegram_message_func('End of the Model Training. \nDateTime: ' + str(current_time_end))

# Processing Time:

processing_time_sec = round(end - start,2)
processing_time_min = round((end - start)/60, 2)
processing_time_h = round((end - start)/3600, 2)

telegram_message_func('Processing Time: \n' + \
                      str(processing_time_sec) + ' Seconds \n' + \
                      str(processing_time_min) + ' Minutes \n' + \
                      str(processing_time_h) + ' Hours')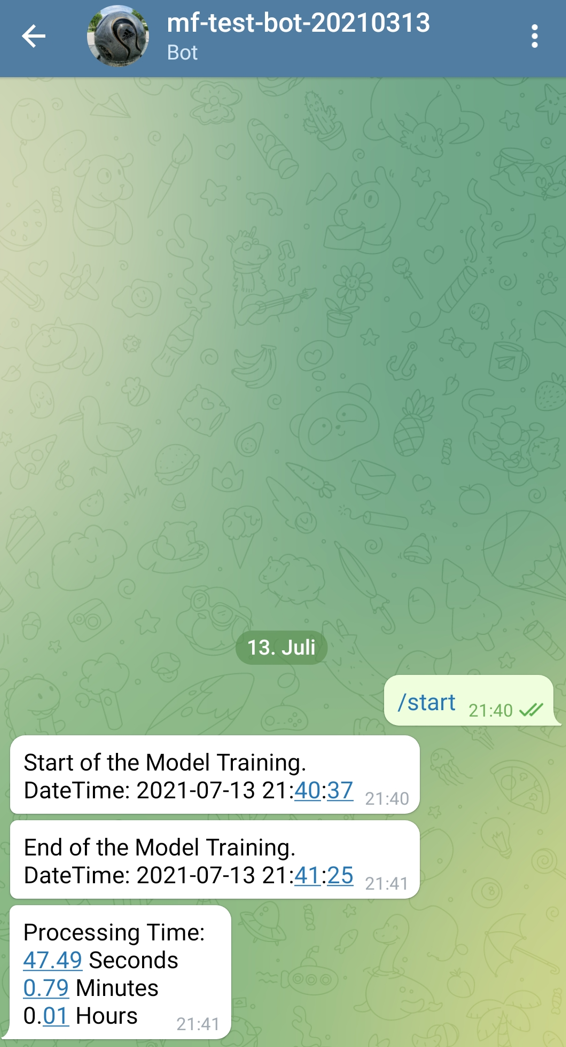
4.3.5 Notification with DateTime, Processing Time and Evaluation
current_time_start = datetime.now().strftime("%Y-%m-%d %H:%M:%S")
telegram_message_func('Start of the Model Training. \nDateTime: ' + str(current_time_start))

# Model Training:
start = time.time()
clf = SVC(kernel='linear')
clf.fit(trainX, trainY)
end = time.time()

current_time_end = datetime.now().strftime("%Y-%m-%d %H:%M:%S")
telegram_message_func('End of the Model Training. \nDateTime: ' + str(current_time_end))

# Processing Time:

processing_time_sec = round(end - start,2)
processing_time_min = round((end - start)/60, 2)
processing_time_h = round((end - start)/3600, 2)

telegram_message_func('Processing Time: \n' + \
                      str(processing_time_sec) + ' Seconds \n' + \
                      str(processing_time_min) + ' Minutes \n' + \
                      str(processing_time_h) + ' Hours')


# Evaluation:
y_pred = clf.predict(testX)
clf_acc = round(accuracy_score(testY, y_pred),2)

telegram_message_func('Accuracy: ' + str(clf_acc) + '%')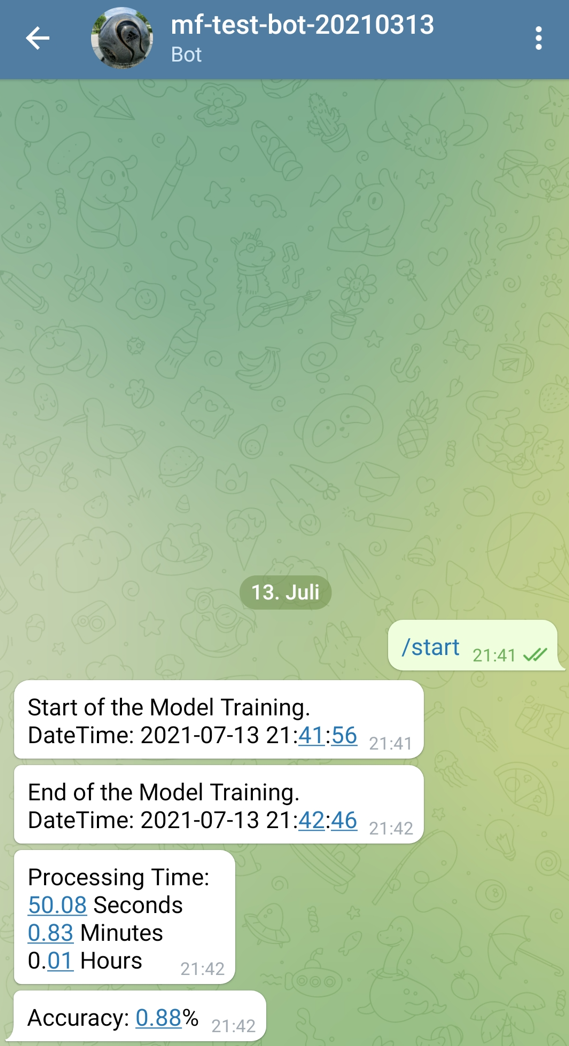
Now we run the model training with GridSearch.
current_time_start = datetime.now().strftime("%Y-%m-%d %H:%M:%S")
telegram_message_func('Start of the Model Training. \nDateTime: ' + str(current_time_start))

# Model Training:
start = time.time()

param_grid = {'C': [0.1, 1, 3],
              'gamma': [1, 0.1, 0.01, 0.001, 0.0001],
              'kernel': ['linear', 'rbf']}
grid = GridSearchCV(SVC(), param_grid, cv = 10, scoring='accuracy', n_jobs=-1)

grid.fit(trainX, trainY)
end = time.time()

current_time_end = datetime.now().strftime("%Y-%m-%d %H:%M:%S")
telegram_message_func('End of the Model Training. \nDateTime: ' + str(current_time_end))

# Processing Time:

processing_time_sec = round(end - start,2)
processing_time_min = round((end - start)/60, 2)
processing_time_h = round((end - start)/3600, 2)

telegram_message_func('Processing Time: \n' + \
                      str(processing_time_sec) + ' Seconds \n' + \
                      str(processing_time_min) + ' Minutes \n' + \
                      str(processing_time_h) + ' Hours')


# Evaluation:
grid_predictions = grid.predict(testX)
grid_clf_acc = round(accuracy_score(testY, grid_predictions),2)

telegram_message_func('Accuracy with GridSearch: ' + str(grid_clf_acc) + '%')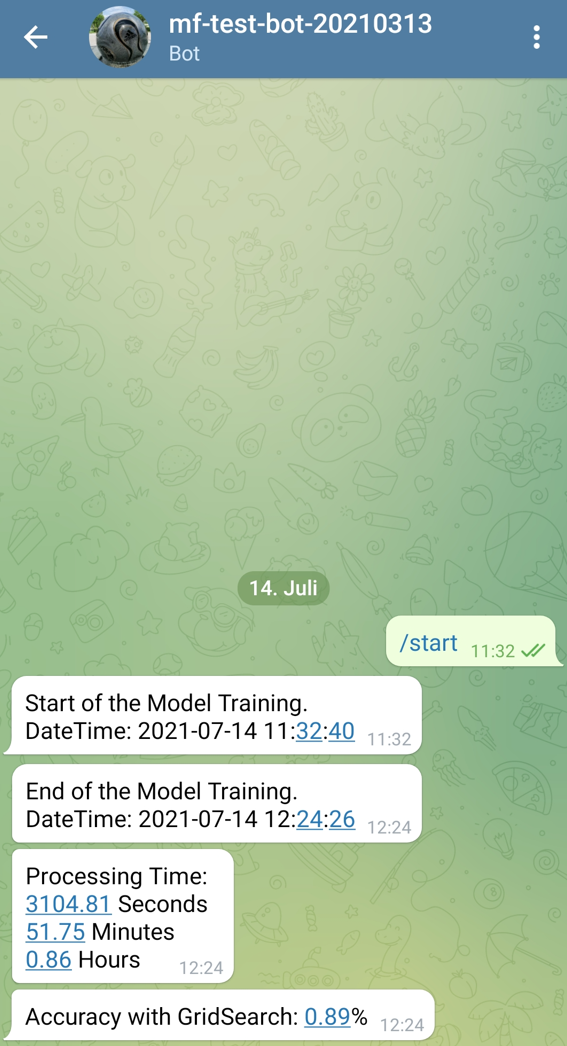
4.3.6 Delete a Chat Bot
As I mentioned before, I will delete the bot again after this post. This goes as follows. Go to the chat with the BotFather and type /deletebot.
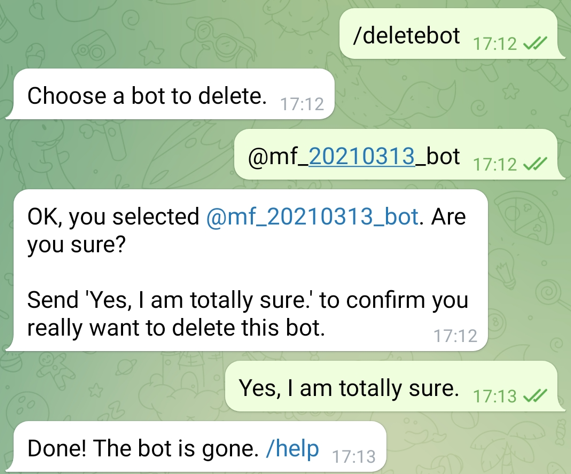
Now you can select the bot you want to delete and confirm it by typing ‘Yes, I am totally sure.’. Make sure that you have written everything correctly otherwise it will not work.
4.4 via MS Teams
Another nice method is to send messages to a MS Teams channel. The required Python library can be downloaded with the following command:
pip install pymsteams
To be able to post messages to a Teams Channel, we need a webhook. This can be created as follows.
4.4.1 Create Incoming Webhook
I’ll show you everything step by step below, but if you want you can also read the Microsoft tutorial here.
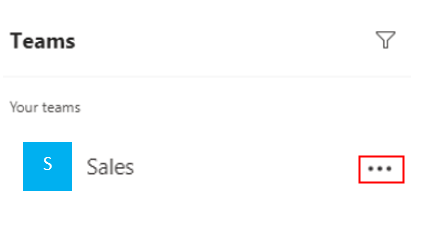
Go to the Teams Channel you want to use and tap on the three dots to the right of it.
Now select Connectors.

Click on Incoming Webhook. Enter a name of your choice and press Done.

Now you can copy the created webhook and paste it into the following function (instead of the placeholder ‘webhook’).

4.4.2 Simple Notification
def ms_teams_message_func(text):
    '''
    A function for writing messages in a Microsoft Teams Channel

    Args:
        text (str): Text message which should be sent, string

    Returns:
        A Microsoft Teams message with the corresponding text as content
    '''
    webhook = "webhook"
    myTeamsMessage.text(text)
    myTeamsMessage.send()
ms_teams_message_func("Hey Guys what's up?")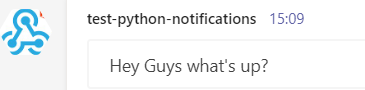
Works. As with Telegram, you can have all kinds of information sent to you. Try it out.
4.4.3 Notification with DateTime, Processing Time and Evaluation
current_time_start = datetime.now().strftime("%Y-%m-%d %H:%M:%S")
ms_teams_message_func('Start of the Model Training. \nDateTime: ' + str(current_time_start))

# Model Training:
start = time.time()
clf = SVC(kernel='linear')
clf.fit(trainX, trainY)
end = time.time()

current_time_end = datetime.now().strftime("%Y-%m-%d %H:%M:%S")
ms_teams_message_func('End of the Model Training. \nDateTime: ' + str(current_time_end))

# Processing Time:

processing_time_sec = round(end - start,2)
processing_time_min = round((end - start)/60, 2)
processing_time_h = round((end - start)/3600, 2)

ms_teams_message_func('Processing Time: \n' + \
                      str(processing_time_sec) + ' Seconds \n' + \
                      str(processing_time_min) + ' Minutes \n' + \
                      str(processing_time_h) + ' Hours')


# Evaluation:
y_pred = clf.predict(testX)
clf_acc = round(accuracy_score(testY, y_pred),2)

ms_teams_message_func('Accuracy: ' + str(clf_acc) + '%')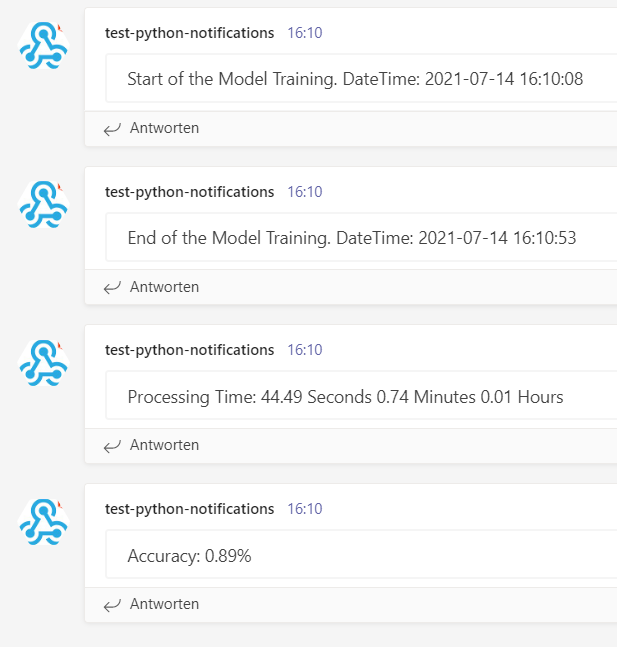
4.4.4 Delete the Webhook
Here are Microsoft’s instructions on how to remove the webhooks from a Teams channel.
4.5 via TensorFlow Notification Callback
So far, we have received notifications at the end of a training of normal machine learning models. Now we come to the topic of neural networks. Of course, we can also use the previous methods, but with neural networks (here with Keras) there is also the possibility to monitor the complete model training.
In Chapter 3, we have already encoded the predictors and the target variable and assigned variables of our own (x and y). So we can save this step here. However, the division of the data set (train, validation and test part) has to be done again.
4.5.1 Preparation Model Training
train_ratio = 0.70
validation_ratio = 0.15
test_ratio = 0.15

# Generate TrainX and TrainY
trainX, testX, trainY, testY = train_test_split(x, y, test_size= 1 - train_ratio)
# Genearate ValX, TestX, ValY and TestY
valX, testX, valY, testY = train_test_split(testX, testY, test_size=test_ratio/(test_ratio + validation_ratio))
print(trainX.shape)
print(valX.shape)
print(testX.shape)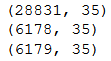
input_shape = trainX.shape[1]

n_batch_size = 100

n_steps_per_epoch = int(trainX.shape[0] / n_batch_size)
n_validation_steps = int(valX.shape[0] / n_batch_size)
n_test_steps = int(testX.shape[0] / n_batch_size)

n_epochs = 25


print('Input Shape: ' + str(input_shape))
print('Batch Size: ' + str(n_batch_size))
print()
print('Steps per Epoch: ' + str(n_steps_per_epoch))
print()
print('Validation Steps: ' + str(n_validation_steps))
print('Test Steps: ' + str(n_test_steps))
print()
print('Number of Epochs: ' + str(n_epochs))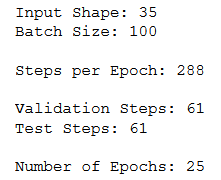
model = models.Sequential()
model.add(layers.Dense(16, activation='relu', input_shape=(input_shape,)))
model.add(layers.Dense(16, activation='relu'))
model.add(layers.Dense(1, activation='sigmoid'))
model.compile(loss='binary_crossentropy',
optimizer='adam',
metrics=['accuracy'])4.5.2 One Time Notifications
pip install tf-notification-callback
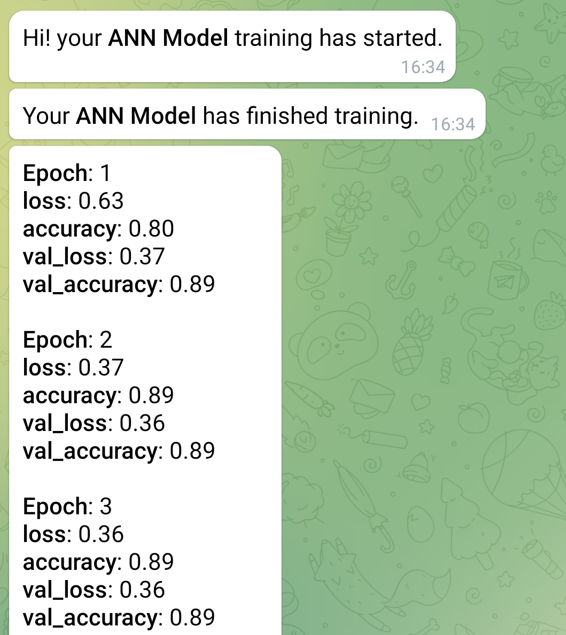
telegram_callback = TelegramCallback('1807598377:AAFgcK1MzqIhpw6cFeS0zQ5WVcjoEmetBUM',
                                     '1870661656',
                                     'ANN Model',
                                     ['loss', 'val_loss'],
                                     ['accuracy', 'val_accuracy'],
                                     True)
history = model.fit(trainX,
trainY,
steps_per_epoch=n_steps_per_epoch,
epochs=n_epochs,
batch_size=n_batch_size,
validation_data=(valX, valY),
validation_steps=n_validation_steps,
callbacks=[telegram_callback])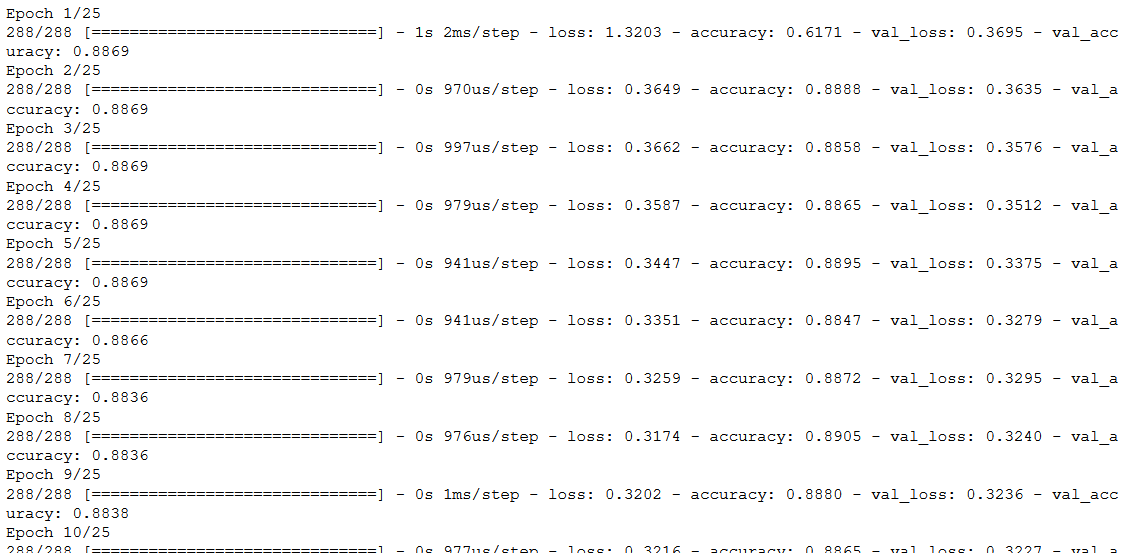
4.5.3 Ongoing Notifications
I found the following code from OMKAR GURAV here.
access_token = '1807598377:AAFgcK1MzqIhpw6cFeS0zQ5WVcjoEmetBUM'
chat_id = 1870661656
class botCallback(tf.keras.callbacks.Callback):
def __init__(self,access_token):
self.access_token = access_token
self.ping_url = 'https://api.telegram.org/bot'+str(self.access_token)+'/getUpdates'
self.response = requests.get(self.ping_url).json()
#print(self.response)
self.chat_id = chat_id
#self.chat_id = self.response['result']
def send_message(self,message):
#print('sending message')
self.ping_url = 'https://api.telegram.org/bot'+str(self.access_token)+'/sendMessage?'+\
'chat_id='+str(self.chat_id)+\
'&parse_mode=Markdown'+\
'&text='+message
self.response = requests.get(self.ping_url)
def send_photo(self,filepath):
imagefile= open(filepath,"rb")
file_dict = {'photo':imagefile}
self.ping_url = 'https://api.telegram.org/bot'+str(self.access_token)+'/sendPhoto?chat_id='+str(self.chat_id)
self.response = requests.post(self.ping_url, files = file_dict)
imagefile.close()
def on_train_batch_begin(self, batch, logs=None):
pass
def on_train_batch_end(self, batch, logs=None):
message = ' Iteration/Batch {}\n Training Accuracy : {:7.2f}\n Training Loss : {:7.2f}\n'.format(batch,logs['accuracy'],logs['loss'])
#print(logs)
try:
message += ' Validation Accuracy : {:7.2f}\n Validation Loss : {:7.2f}\n'.format(logs['val_accuracy'],logs['val_loss'])
self.send_message(message)
except:
pass
def on_test_batch_begin(self, batch, logs=None):
pass
def on_test_batch_end(self, batch, logs=None):
message = ' Iteration/Batch {}\n Training Accuracy : {:7.2f}\n Training Loss : {:7.2f}\n'.format(batch,logs['accuracy'],logs['loss'])
try:
message += ' Validation Accuracy : {:7.2f}\n Validation Loss : {:7.2f}\n'.format(logs['val_accuracy'],logs['val_loss'])
self.send_message(message)
except:
pass
def on_epoch_begin(self, epoch, logs=None):
pass
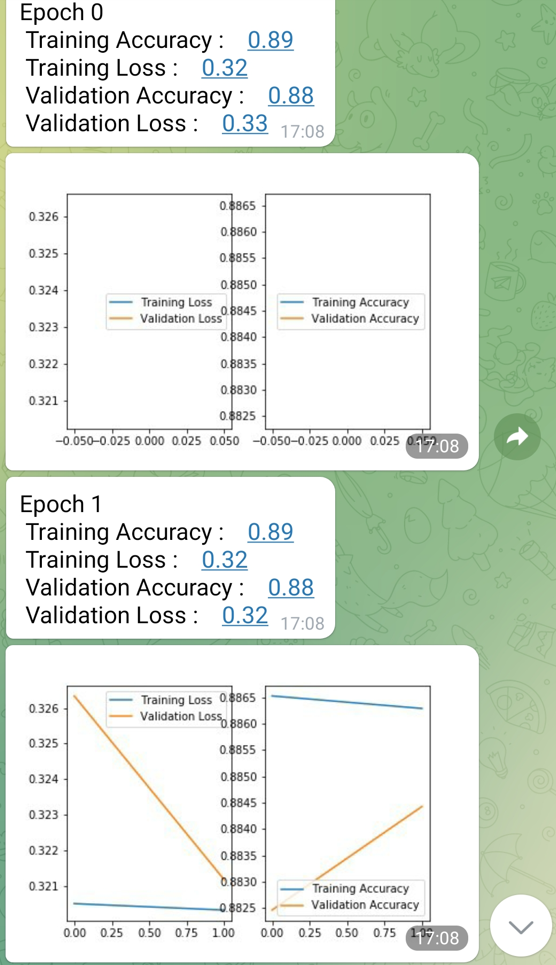
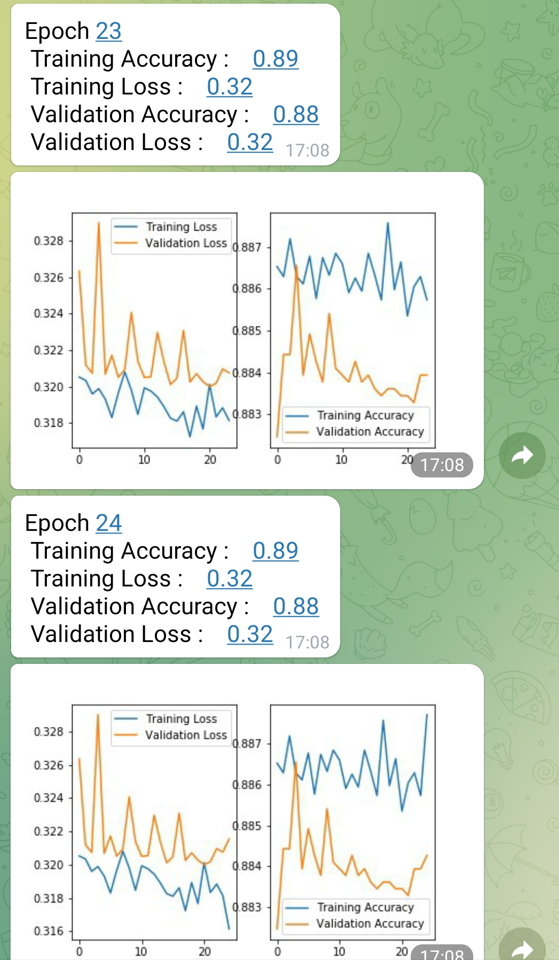
def on_epoch_end(self, epoch, logs=None):
message = ' Epoch {}\n Training Accuracy : {:7.2f}\n Training Loss : {:7.2f}\n'.format(epoch,logs['accuracy'],logs['loss'])
try:
message += ' Validation Accuracy : {:7.2f}\n Validation Loss : {:7.2f}\n'.format(logs['val_accuracy'],logs['val_loss'])
self.send_message(message)
except:
pass
class Plotter(botCallback):
def __init__(self,access_token):
super().__init__(access_token)
def on_train_begin(self,logs=None):
self.batch = 0
self.epoch = []
self.train_loss = []
self.val_loss = []
self.train_acc = []
self.val_acc = []
self.fig = plt.figure(figsize=(200,100))
self.logs = []
def on_epoch_end(self, epoch, logs=None):
self.logs.append(logs)
self.epoch.append(epoch)
self.train_loss.append(logs['loss'])
self.val_loss.append(logs['val_loss'])
self.train_acc.append(logs['accuracy'])
self.val_acc.append(logs['val_accuracy'])
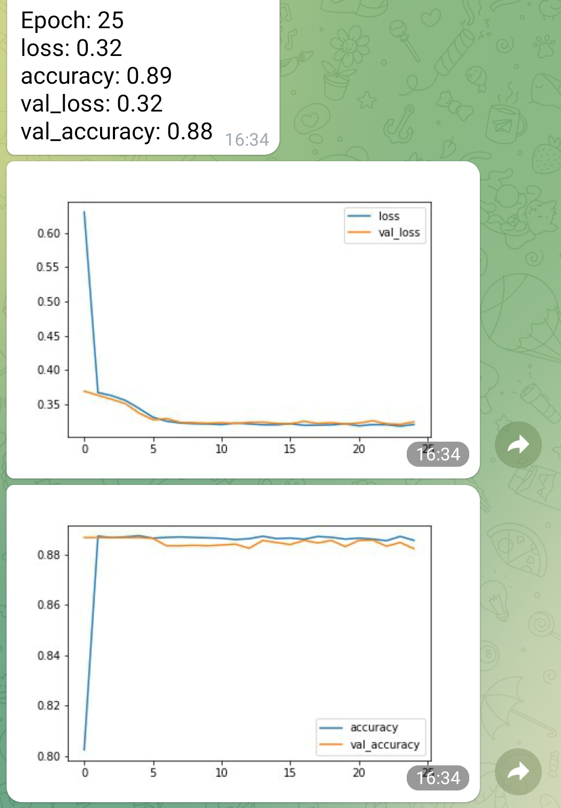
f,(ax1,ax2) = plt.subplots(1,2,sharex=True)
#clear_output(wait=True)
ax1.plot(self.epoch, self.train_loss, label='Training Loss')
ax1.plot(self.epoch, self.val_loss, label='Validation Loss')
ax1.legend()
ax2.plot(self.epoch, self.train_acc, label='Training Accuracy')
ax2.plot(self.epoch, self.val_acc, label='Validation Accuracy')
ax2.legend()
plt.savefig('Accuracy and Loss plot.jpg')
self.send_photo('Accuracy and Loss plot.jpg')bot_callback = botCallback(access_token)
plotter = Plotter(access_token)
callback_list = [bot_callback, plotter]history = model.fit(trainX,
trainY,
steps_per_epoch=n_steps_per_epoch,
epochs=n_epochs,
batch_size=n_batch_size,
validation_data=(valX, valY),
validation_steps=n_validation_steps,
callbacks=[callback_list])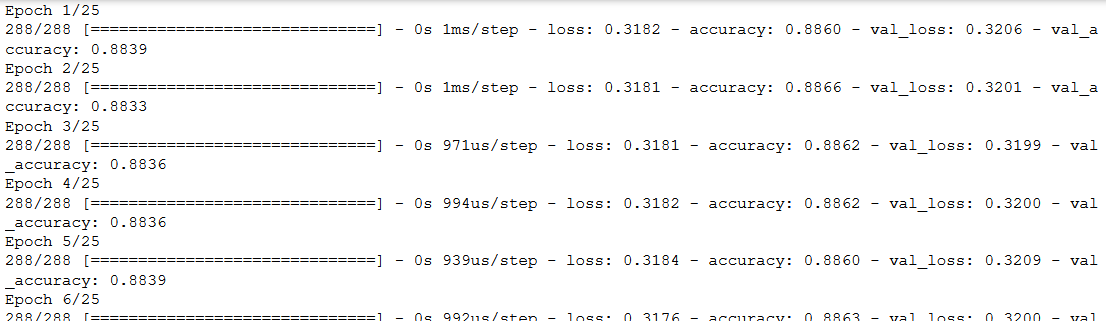
4.6 via gmail
You also have the possibility to send e-mails with Python via a gmail account. To do this, you need to create a gmail account and create an app password (instructions here).
With the following code you can send emails from your gmail account to other recipients.
You just have to enter the recipient addresses, the subject and the content of the e-mail. Of course you also have to enter the address of your e-mail account (sender address) and the password so that Python can access the account.
4.6.1 One Recipient
#Recipient:
receiver_address = 'mail_adress@gmail.com'

#Subject Text:
subject_text = 'A test mail sent by Python'

#Mail Content:
mail_content = 'A simple e-mail with 1 recipient'


#The mail addresses and password
sender_address = 'your_gmail_address@gmail.com'
sender_pass = 'generated_app_password'
#Setup the MIME
message = MIMEMultipart()
message['From'] = sender_address
message['To'] = receiver_address
message['Subject'] = subject_text
#The body and the attachments for the mail
message.attach(MIMEText(mail_content, 'plain'))
#Create SMTP session for sending the mail
session = smtplib.SMTP('smtp.gmail.com', 587)
session.starttls()
session.login(sender_address, sender_pass)
text = message.as_string()
session.sendmail(sender_address, receiver_address, text)
session.quit()
print('Mail Sent')
4.6.2 Multiple Recipients
#Recipient List:
receiver_list = ['mail_adress_1@gmail.com', 'mail_adress_2@gmail.com']
receiver_address = ", ".join(receiver_list)

#Subject Text:
subject_text = 'A test mail sent by Python'

#Mail Content:
mail_content = 'Hi all, \nThis is a test mail sent by Python. \nKind Regards'

#The mail addresses and password
sender_address = 'your_gmail_address@gmail.com'
sender_pass = 'generated_app_password'
#Setup the MIME
message = MIMEMultipart()
message['From'] = sender_address
message['To'] = receiver_address
message['Subject'] = subject_text
#The body and the attachments for the mail
message.attach(MIMEText(mail_content, 'plain'))
#Create SMTP session for sending the mail
session = smtplib.SMTP('smtp.gmail.com', 587)
session.starttls()
session.login(sender_address, sender_pass)
text = message.as_string()
session.sendmail(sender_address, receiver_address, text)
session.quit()
print('Mail Sent')
5 Conclusion
In this post I showed how to get notifications sent to you automatically (mainly via Telegram).
Furthermore, I showed how you can customize the content of the notifications.
This is especially useful if you have long model trainings going on and want to be informed about the final score or the intermediate scores immediately.